
Introduction
This page explains how you can get TAPP for Microsoft Dynamics 365 Business Central deployed and configured in your Microsoft Dynamics 365 Business Central environment. Contact Bluefort support on support@bluefort.eu if you have any questions.
Pre-requisites
To successfully deploy this product, you need to have a Microsoft Dynamics 365 Business Central SaaS environment deployed.
To successfully setup the product it is critical that before you start the process, the following URLs are available / created and accessible – please also note that these parameter URLs cannot be modified after they have been defined within the initial setup:
- The Customer onboarding redirect url – this is the web page your customers will be re-directed to once they complete a billing request flow / mandate onboarding.
- The Customer onboarding redirect exit url – this is the web page your customers will be re-directed to if the billing request flow / mandate onboarding flow exits unexpectedly, expires etc. These should be created as pages before hand.
In order to fully complete the process and setup the required Connectors, please make sure that any Conditional Access from the Tenant on Azure is lifted, as these may interfere with the HARP onboarding process. If this is not possible it is highly recommended that an admin user without such conditional access restrictions is used. It is also recommended to use a service account instead of a user account, as the latter may become invalid and cause the connector to fail.
Be sure to also prepare two different account credentials separate for GCL Sandbox and GCL production environments. This prerequisite is listed as part of this documentation since GCL requires different credential identification as part of their process – read more here:
Note: We currently do not support on-premises deployments of Microsoft Dynamics 365 Business Central.
Obtaining the app
There are multiple ways to get the GoCardless for Dynamics 365 Business Central – TAPP extension;
- From within Business Central
- In your Business Central environment navigate to the ‘Extension Management’ page.
- From within the page menu, click on ‘Appsource Gallery’.
- Search for the app by name and press “Get it now”.
Installation
Installation Wizard
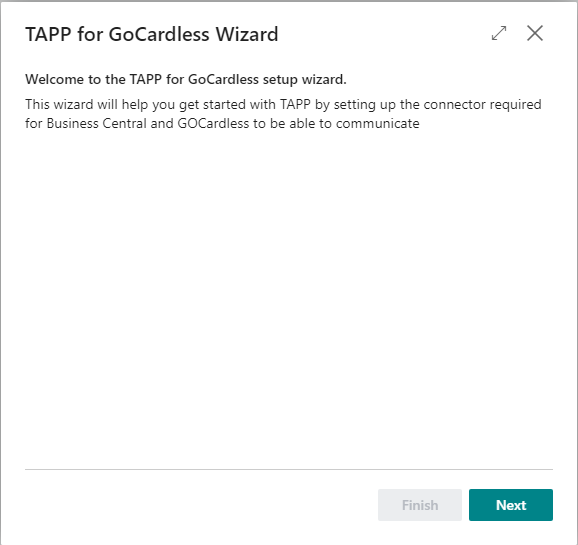
When the appication is successfully installed, run the TAPP for GoCardless Wizard that will help you get started with TAPP by setting up the connector required for Business Central and GOCardless to be able to communicate.
The wizard can be found either through the Business Central search or via the TAPP menu within the GoCardless Payment Gateway Manager Role Center.
Note: Please ensure you expand the wizard dialog using the arrows on the top right corner for a better experience.
- Click the Next button on the Welcome screen.
- Click on the option ‘Sign in with Microsoft’ – this will register your environment to bluefort’s tenant as a TAPP user. As mentioned in the pre-requisites, use an admin account with access to Business Central.
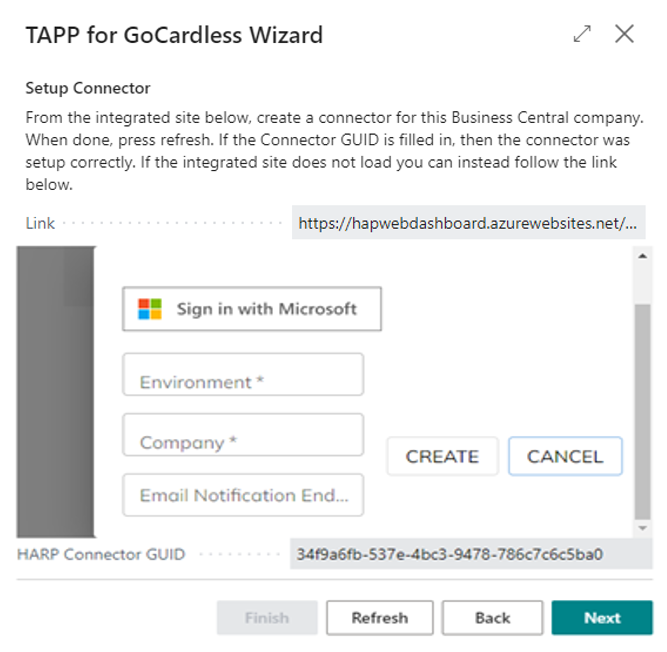
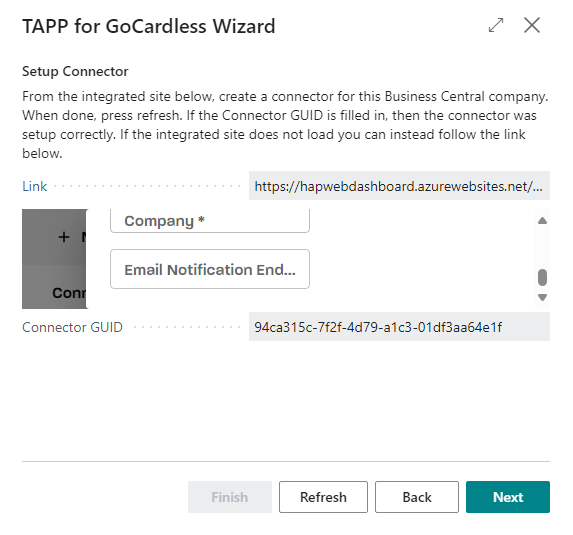
- Once signed in, populate the Environment and Company fields and click on Create.
- The Connector GUID Field should be filled in if the creation was successful. If not, you can attempt to create a new one by re-trying the process.
- In the Payments Gateway Parameters section, populate the parameters required for processing the pay outs.
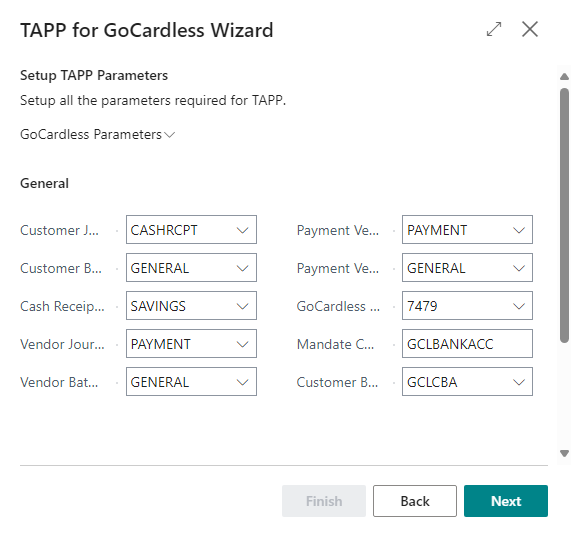
See more information about the parameters here.
Notes:
- This process needs to be done for every company which needs a Connector.
Assign Permissions to Admin user and to any other users accessing TAPP
Assigning admin role
- Navigate to the ‘Users’ page and locate the user to assign the permission to.
- Assign the BFTHARPSERVICE permission set to admin users
Repeat the above steps for any other users who need access to GoCardless for Dynamics 365 Business Central – TAPP.
Assigning user roles
Once the extension has been installed and the connector has been setup, the next step would be for a user with the SUPER role to assign non-admin users the correct roles.
There are two roles for the Payment Gateway features, being Payment Gateway Admin and Payment Gateway Manager, with the difference being that the admin can change the configuration parameters while the manager cannot.
- Navigate to the ‘Users’ page and locate the user to assign the permission to.
- Assign the BFTPAYMGATEWAYADMIN or the BFTPAYMGATEWAYMNGR permission set to users

The difference between the two permission sets is mainly the ability to change configuration parameters. The administrator rolw allows such access.
Optional: Set Role Center
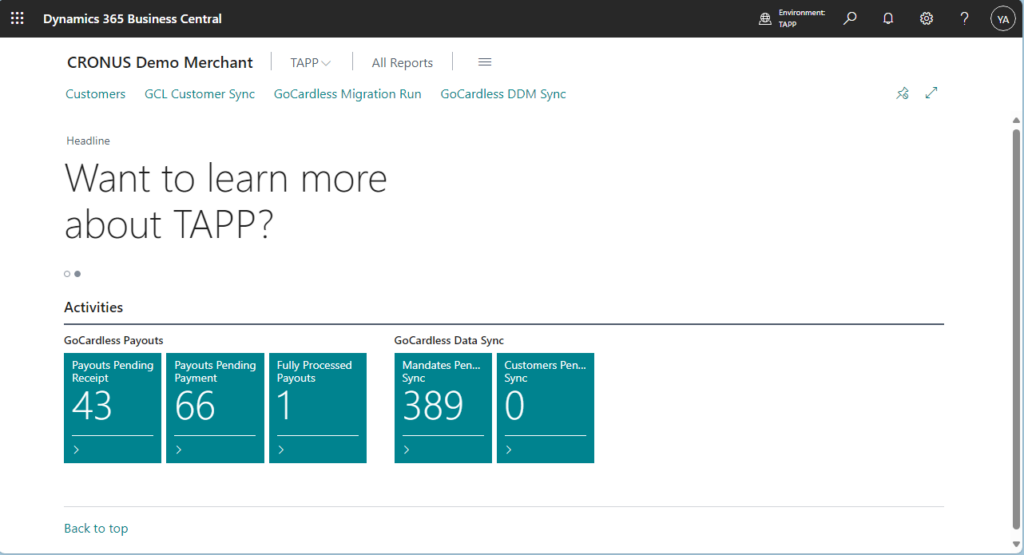
GoCardless for Dynamics 365 Business Central – TAPP has a dedicated role center , GoCardless Payment Gateway Manager, that gathers all TAPP-related information and activities in one place.
As per Microsoft standard capabilities, the user’s roles can either be self-maintained by the users or changed by an admin.
For user to change own role
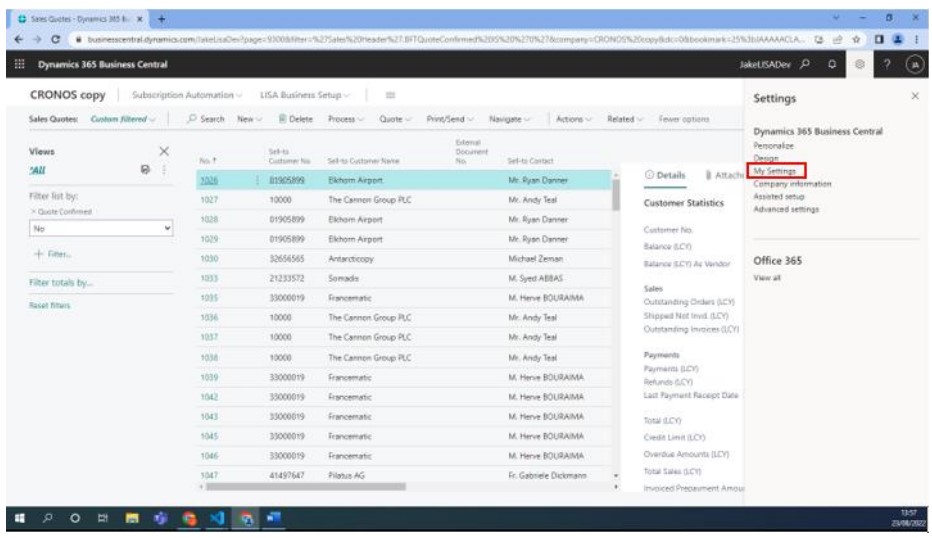
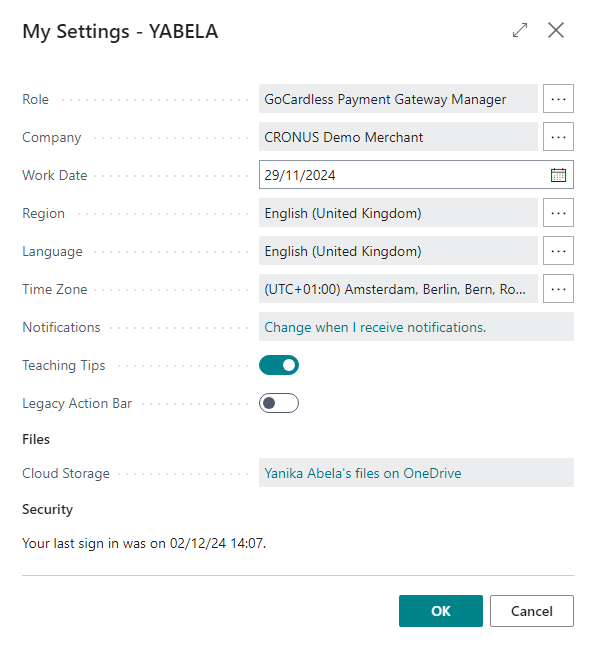
1. Click on the settings icon and choose ‘My Settings’.
2. Change the role to GoCardless Payment Gateway Manager
For admin to change any user’s role
1. From search, go to ‘User Settings’.
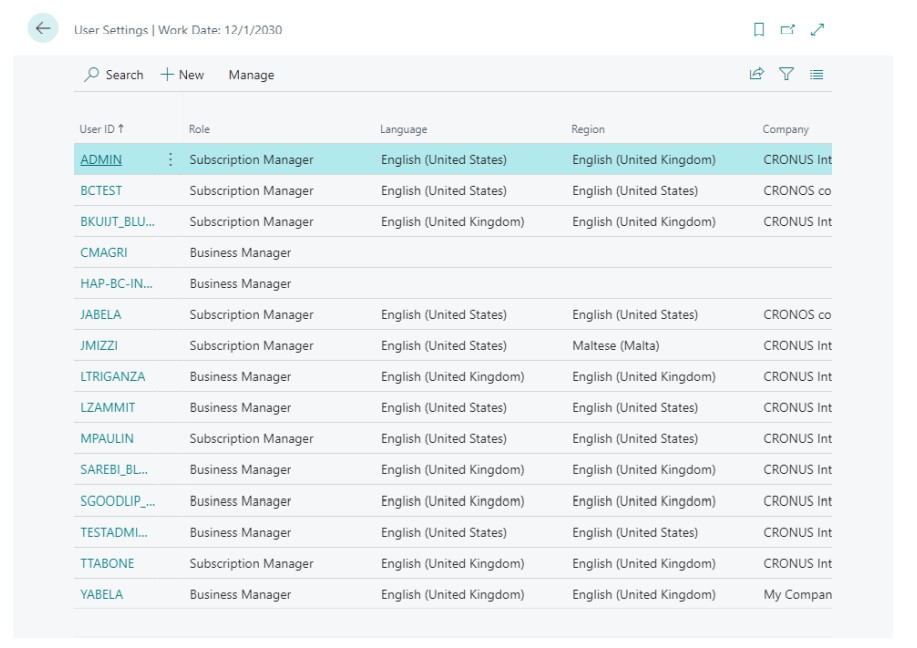
2. Locate the user for whom to change the Role Center and assign GoCardless for Dynamics 365 Business Central – TAPP in the ‘Role’ field.
