
Introduction
Welcome to ARVO Studio’s free trial page. This guide will help you get ARVO Studio ready for your first trial project. You’ll install ARVO Studio from Microsoft AppSource, connect your preferred AI provider and create a Pre-Sales project to start exploring ARVO Studio.
ARVO Studio’s freemium trial allows up to six trial runs without activating an ARVO Studio entitlement.
The steps you need to follow to start your trial journey are defined below as steps 1 – 4 and they need to be followed in this order:
1. Install ARVO Studio → 2. Connect your AI and Test Connection → 3. Create Pre-Sales project → 4. Explore ARVO
1. Install ARVO Studio
Your first step is to install ARVO Studio from Microsoft AppSource into a Microsoft Dynamics 365 Business Central sandbox environment. Before your start with step 1 make sure that:
- You have a Business Central SaaS sandbox environment available.
- You have permission to install applications into that environment.
- You know which sandbox environment you want to use for your ARVO Studio trial.
Starting the installation from AppSource would be the next step after you make sure that the prerequisites above are confirmed. For the full installation instructions see Install ARVO Studio from AppSource, while you can also learn more about how ARVO Studio licensing works by visiting How ARVO Studio is licensed and bought.
- Find ARVO Studio on Microsoft AppSource.
- Select Get it now.
- Sign in using the account you use for Business Central.
- Select your target sandbox environment.
- Confirm the installation.
- Wait for Business Central to confirm that the extension has been installed.
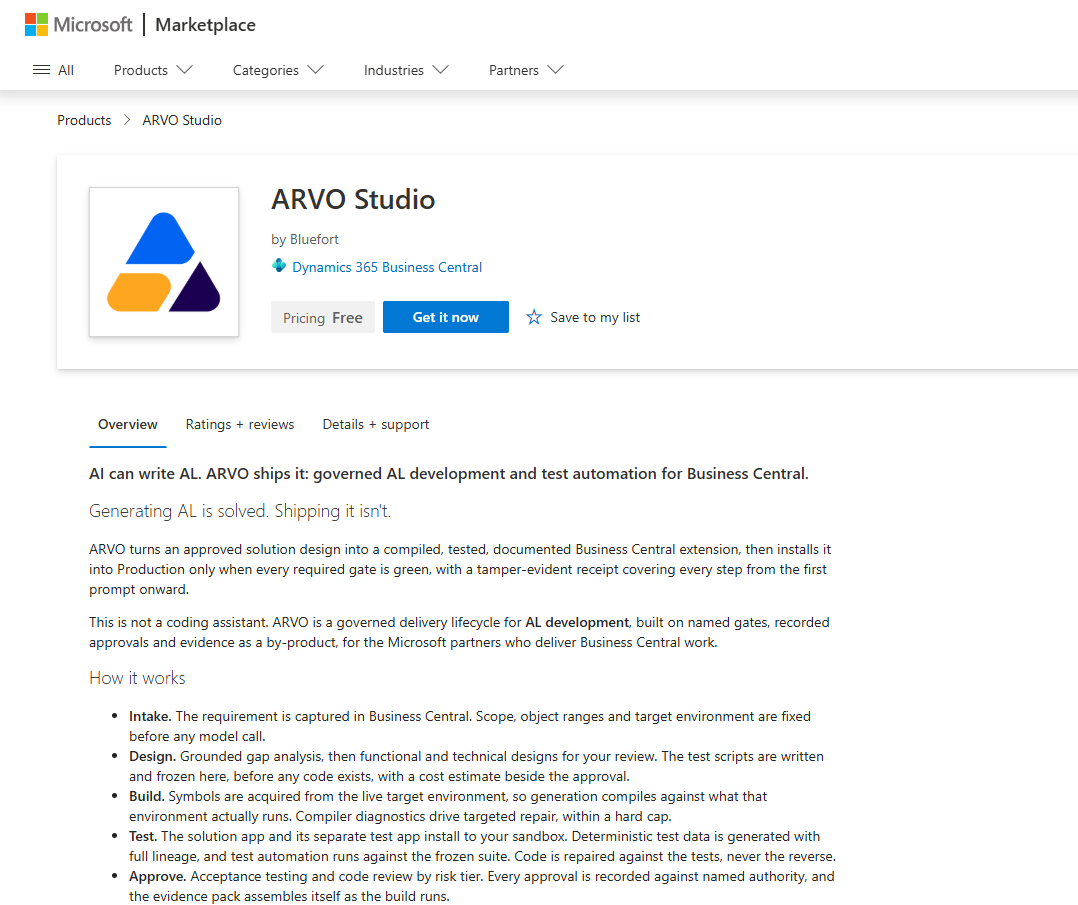
As an alternative you can also start your ARVO Studio installation from within Dynamics 365 Business Central environment by following the below steps:
- Access Extension management page from Business Central.
- Open AppSource Gallery and filter by Bluefort.
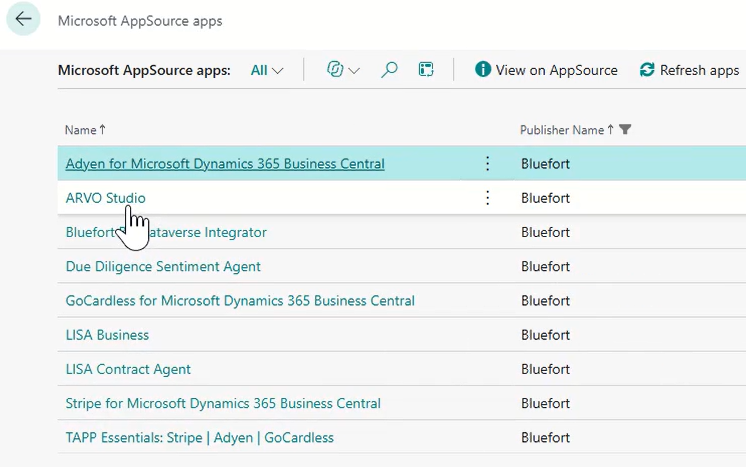
- Click on ARVO Studio and click Install App
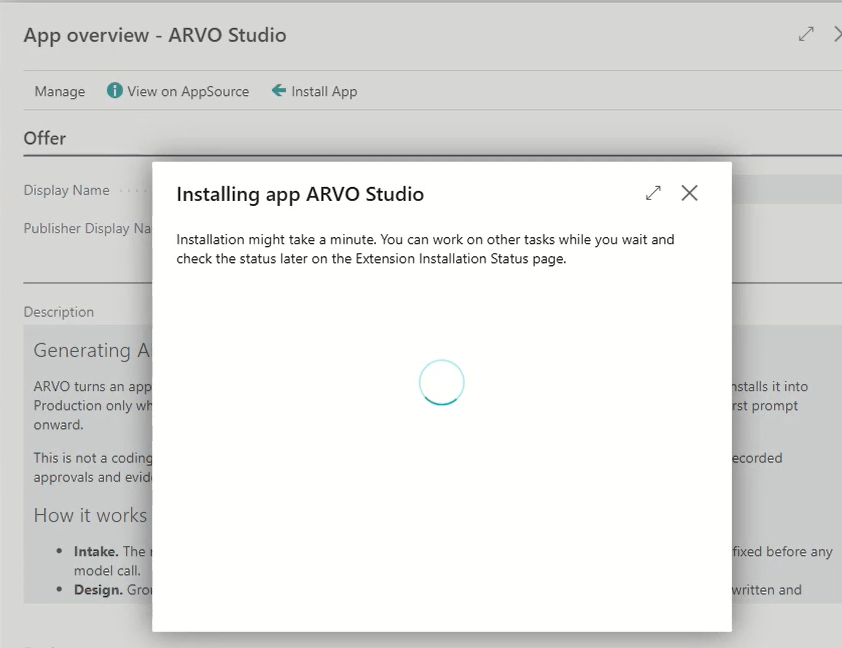
- Follow the on screen instructions including language settings to install the extension and finally press Install.
Important: ARVO Studio should be installed in a sandbox environment. Do not select a Production environment.
2. Connect Your AI
ARVO Studio requires a connection to an AI provider before it can perform AI analysis, design or generate work.
ARVO Studio currently supports:
- Azure AI Foundry
- Anthropic AI
Start this step by choosing your AI Provider – you can follow Choosing the AI Provider article for further information. Depending on the AI provider selected, follow the relevant setup and BYO connection instructions. This article already links to these five resources below:
Azure AI Foundry
Anthropic
Model Catalogue
Once ARVO Studio is installed, the Model Catalogue is automatically populated with a selection of supported AI models.
ARVO Studio currently supports the OpenAI and Anthropic model dialects. When configuring your AI connection, make sure that the model selected in ARVO Studio matches the model deployment configured with your AI provider. Before starting your trial, review the models available in the Model Catalogue and confirm that the model you intend to use is correctly configured.
Once your AI provider is connected and your Model Catalogue configuration including the applicable model pricing is confirmed, you are ready to create your first project.
Test Connection
The next step is to test your connection that was previously made to your AI provider with the chosen model. The article Bluefort connection highlights all the steps that are needed for this process.
3. Create Your Pre-sales Project
For your trial, select the Pre-Sales project template on the New project page.
The Pre-Sales template provides a streamlined path through ARVO Studio, taking the project from document Input to code generation. Please note however that while all the functionality is available for use, the final deployment to a production environment is blocked.
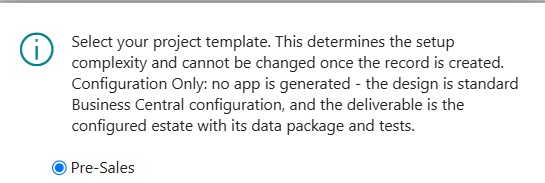
To create your first project, Open the Projects list and choose New Project.
You can begin your Pre-Sales project using your existing requirements documentation, or using a meeting transcript to generate Solution Requirements directly with ARVO Studio.
Where you already have your own requirements document or SDD, you can upload it and provide additional supporting context or meeting transcripts as required. The generated requirements should always be reviewed before proceeding to code generation.
Additional context to your documentation can also be provided such as:
- Company Context
- Role Context
- Author Notes
For more information on creating and preparing a project, see Create a Project.
4. Explore ARVO
After the above steps have been completed, you are now ready to start exploring ARVO Studio’s functionaltiy. At this point you should have the below:
- ARVO Studio installed
- ARVO Studio Role Centre available
- Your AI provider connected
- A Pre-Sales project created
- Your Solution Design Document ready
You can now use your own requirements to explore how ARVO Studio takes a project from an initial requirements input through the AI assisted build process. Following these steps allows to finally arrive at a generated Solution Requirements document. This document may be provided in plain markdown format if no branding template has been configured yet in ARVO Studio.
For more detailed guidance as you explore the product, visit our learning portal here.
Note: The ARVO Studio free trial does not require a standard ARVO Studio licence activation. The normal licensing and activation process is separate and applies only when moving beyond the freemium trial.