
TAPP for GoCardless and Microsoft Dynamics 365 Finance – Deployment and Configuration
Obtaining the Software
This page explains how you can get the Bluefort Payment Automation module deployed in your Dynamics 365 Finance and Operations environment.
1. Download the deployable package by:
- Visiting this URL: https://learn.bluefort.eu/knowledge-base/getting-started-with-bluefort-tapp/
- Providing the necessary details:
- First Name,
- Last Name
- Company Name
- Job Title
- Doing the “I’m not a robot” reCAPTCHA test.
- Clicking on Submit
After clicking on the Submit button a password is displayed. This can be used to unzip the archive which can be downloaded from the GitHub URL which is also displayed. It is advisable to always download the latest version.
2. Once you’ve downloaded the deployable package you can follow the steps outlined by standard Microsoft documentation on how to install a deployable package on a FinOps environment. Keep in mind that if you have other ISV solutions or deployable packages on your environment you might need to create an “all-in-one” package.
Information on how to apply updates to a cloud environment can be found here.
Information on how to apply updates to on-prem environments can be found here.
3. Optional Step: If you would like to be notified when Bluefort releases a new version of the solution we recommend that you provide the Bluefort support team with a list of usernames (e.g. jdoe@contoso.com) that should be invited to the LISA LCS project called Bluefort Payment Automation.
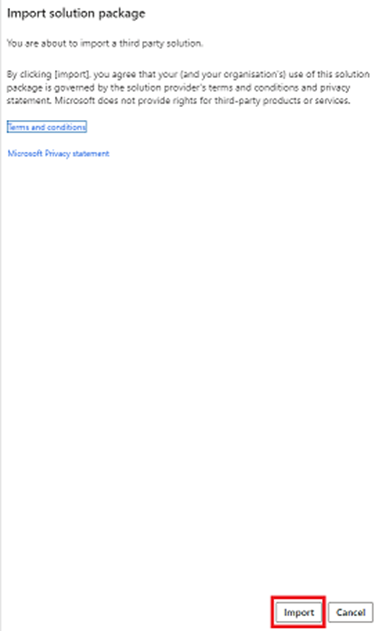
4. Optional Step: Once the above users are added by Bluefort support team, the users will be able to obtain the Bluefort Payment Automation files. From the LCS Asset Library, pull the latest (or specific) version of the Bluefort Payment Automation solution package which contains the Software Deployable Package. The process is summarised in the screenshots below.
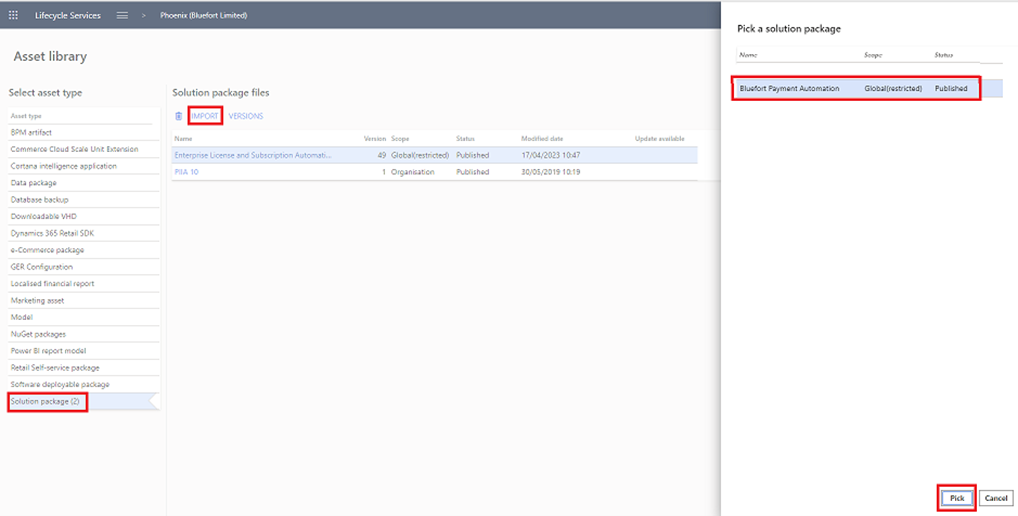
When there is a new version of the software, a notification email is sent by LCS and the Versions button can be used to pull the latest version of the deployable package, assuming the steps listed as optional earlier in this guide have been executed.
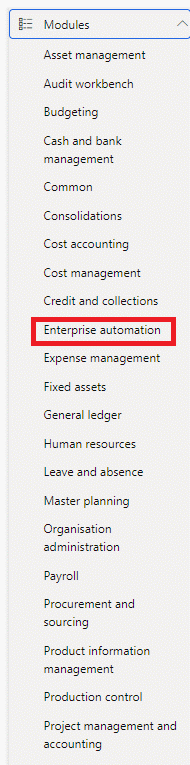
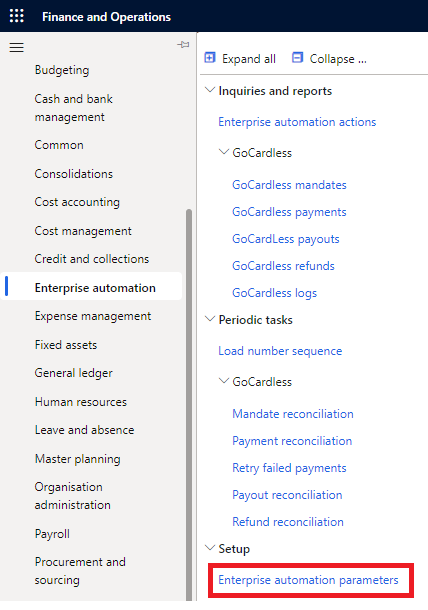
Upon successful deployment of the module, you should see a new module called Enterprise Automation in the main menu of Dynamics 365 Finance and Operations, as shown in the screenshot below.
The Enterprise Automation module has two roles. One is an administrator role which allows access to all the modules. The other is a user role that allows access to all the modules except the Setup/parameters sub-menu/form.
Non-admin users must be assigned the user role in order to use the functionality within the module.
Configuring the Enterprise Automation module to enable Bluefort Payment Automation
The first step is to go to the Enterprise automation parameters form.
Within the Enterprise automation tab enter values for the Initialization customer id and the Initialization customer id fields. These will only be used for seeding purposes. Once the values are entered, click on the Initialization Process button. This initializes the Bluefort Actions Framework and only needs to be done once per legal entity.
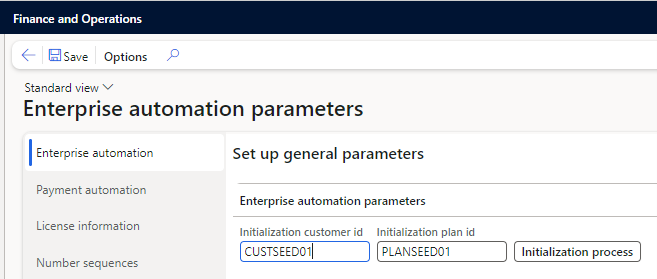
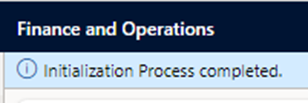
If any validation errors pop-up please rectify them accordingly or contact Bluefort support on support@bluefort.eu if you have any questions. When the initialization process is successful an Infolog is displayed and you may proceed to the next configuration steps.
The next step is to go to the Payment automation tab.
This tab is divided into multiple fast tabs.
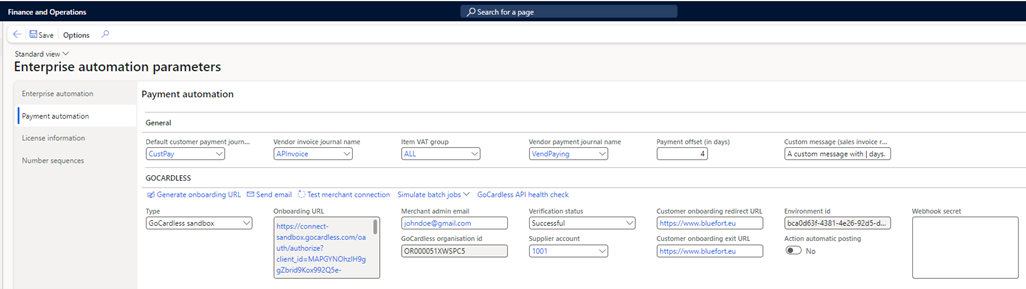
The General Fast Tab
Here you should configure fields that apply to one or more payment providers (i.e. not specific to one payment provider). The fields to configure are:
- Default customer payment journal name – The customer payment type journal name to use when creating customer payment journals for payments processed via the payment providers. It is important that the journal name selected here has the Amounts include sales tax (VAT) flag set to FALSE.
- Vendor invoice journal name – The vendor invoice type journal name to use when creating vendor invoice journals to record charges from the payment providers as a vendor invoice. Note: not all payment providers support vendor invoicing. It is important that the journal name selected here has the Amounts include sales tax (VAT) flag set to FALSE.
- Item VAT group / Item sales tax group – The item vat (sales tax) group is to apply to vendor invoice journal lines when recording charges from the payment providers as a vendor invoice.
- Vendor payment journal name – The vendor disbursement type journal name to use when creating vendor payment journals to record the payment for the vendor invoices that are created to record charges from payment providers. It is important that the journal name selected here has the Amounts include sales tax (VAT) flag set to FALSE.
- Payment offset (in days) – The payment offset in days after the invoice when the first attempt to transfer the funds will be made.
- Custom message (sales invoice report) – Define the message to be shown on the sales invoice document when an invoice will be settled using a payment gateway or direct debit mandate. Use the wild character | to denote the number of days after the sales invoice date the first attempt to transfer the funds will be made.
Any charges from the payment gateway provider for the transaction are posted to General Ledger with the posting type: Customer settlement discount (this will change in the SEPTEMBER 2025 release of TAPP. It will be replaced with a new Payment gateway fees ledger account field on the Payment automation tab in Enterprise automation parameters) because the original customer transaction needs to be settled in full even though you receive a partial amount (the full settlement account minus the fee) in your bank account from the payment gateway provider. Thus it is important to ensure the following two pieces of configuration are done before any customer payment journals are posted:
1. Accounts for automatic transactions -> Posting type = Customer settlement discount is set to point to the expense account where you want to recognize the cost of the payment gateway provider (e.g. Direct Debit Charges of type Expense)

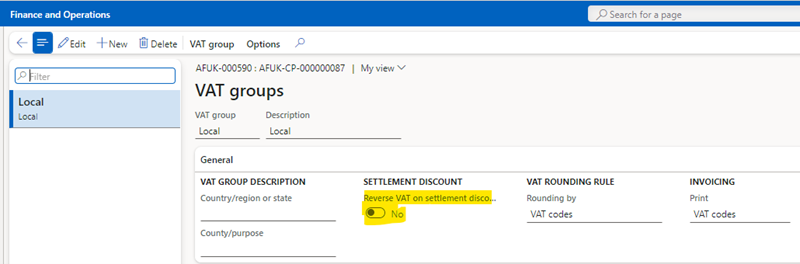
2. The VAT group (Item tax group) assigned to the customer / sales order / invoice has the field Reverse VAT (Sales tax) on settlement discount set to No. This ensure that your VAT (Sales tax) obligation is not deducted for the portion of the sales value which was allocated as a direct debit charge.
The GoCardless Fast Tab
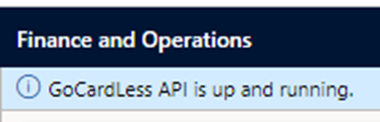
In this tab you should configure fields specific to the GoCardless integration. The first step to configure GoCardless would be to verify connectivity to the GoCardless API using the GoCardless API health check button. If all is ok, the Infolog below is displayed.
Merchant Onboarding
The second step would be to onboard the current legal entity as a GoCardless merchant. This step needs to be done for every legal entity that will be integrating with GoCardless. One FinOps legal entity should map to one GoCardless merchant.
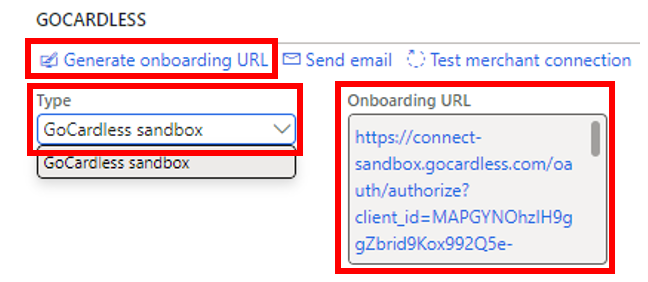
First, select the type of endpoint you want to connect to in the Type field. For testing in sandbox/UAT environments use the GoCardless sandbox endpoint. For going live in production environments use the GoCardless live endpoint. After making your selection, proceed to generate the merchant onboarding URL by clicking on the Generate onboarding URL button. This should generate the onboarding URL in the Onboarding URL field.
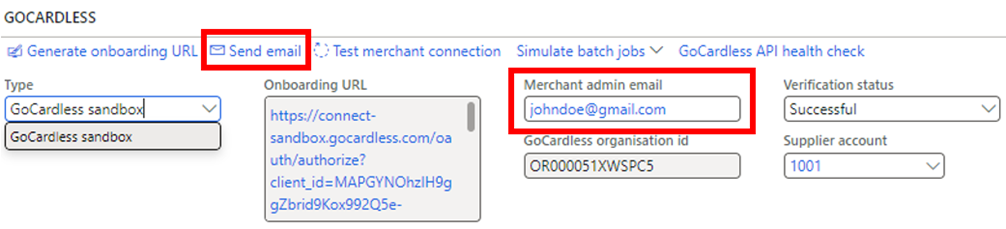
Fill in the merchant admin email field and forward the Onboarding URL to this email address by using the Send email button. In a production/live scenario, the merchant admin should be a legal representative of the legal entity who has the authority to sign up the legal entity as a GoCardless merchant. The onboarding URL can of course be shared manually by copying the value from the field. The Send email button is a handy optional tool.
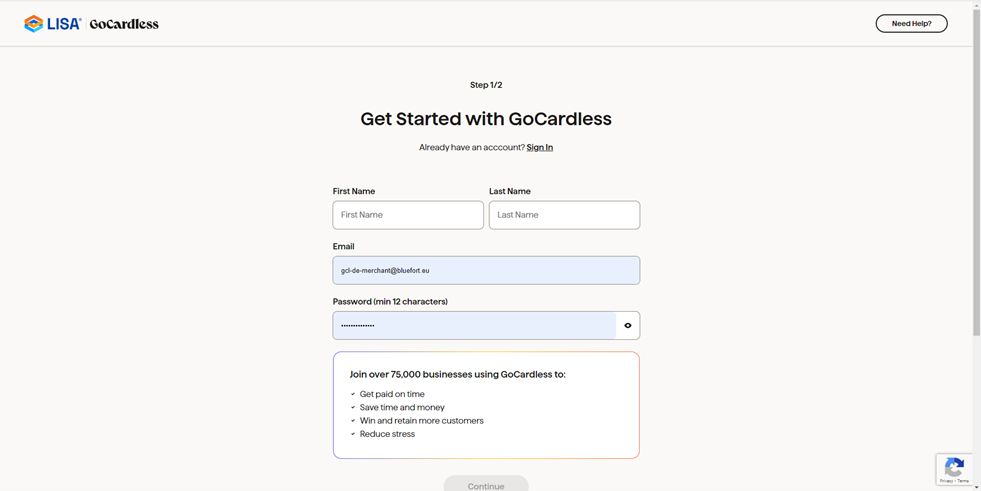
Once the legal representative of the legal entity receives the Onboarding URL and clicks it, the GoCardless hosted page is presented. This wizard will guide the user through the merchant onboarding process for the legal entity. The first step in this wizard is to create an account with GoCardless or sign-in if the legal entity was already signed up to GoCardless in the past.
At the end of the wizard, the user will be re-directed to a page on the Bluefort website and here it is important to click on the button indicated in order to send the token and organisation information to the Dynamics 365 FSCM legal entity.
Clicking this button would redirect the user back to Dynamics 365 FSCM where the user should receive confirmation that the Merchant onboarding is successful.

After the legal representative receives the success message the onboarding can be verified by ensuring that the Verification status has the value Successful and the other two fields marked by the red boxes in the screenshot below contain a value and are thus not blank.

Other fields to configure:
Supplier/Vendor account – This is the supplier/vendor account from the company’s purchase ledger / AP module to represent GoCardless as a supplier/vendor of the service. Supplier/vendor invoices and supplier/vendor payments created automatically for charges are created against this supplier/vendor account.
Customer onboarding redirect URL – This is the URL to redirect to when your customers successfully finish the onboarding process to your GoCardless merchant. It is recommended that this URL is hosted on your domain and branded with your company theme.
Customer onboarding exit URL – This is the URL to redirect to when your customers exit the onboarding process to your GoCardless merchant with an error. It is recommended that this URL is hosted on your domain and branded with your company theme. Also, guide the customer on how to proceed in resolving the issue.
Action automatic posting – Bluefort Payment Automation is based on the power and robustness of the Bluefort Actions framework. This field lets you control whether you want GoCardless payment actions to be automatically posted or whether you want them to be created in a Firmed state for review before requesting the direct debit operation on the customer’s bank account. Setting this value to true requires less manual interaction but doe not provide the opportunity for review. Typically it is left turned off during the first phases of go-live and then turned on when the legal entity becomes familiar with the payment requests generated and can thus make full use of the automation capabilities.