
The CRM BC Connector app for Business Central requires webhooks to function. Bluefort provides an Azure application that handles these webhooks and forwards them to the relevant Business Central environment(s).
This guide will walk you through deploying the Bluefort BC Dataverse Azure Function and configuring it with the necessary parameters.
Pre-requisites
- Azure Subscription
- An active subscription with permissions to create Resource Groups, Function Apps, and Deployment Slots.
- App Registration
- Client IDs and client secrets for both sandbox and production environments.
- Package URI from Bluefort
- The deployment requires the package URL supplied by Bluefort.
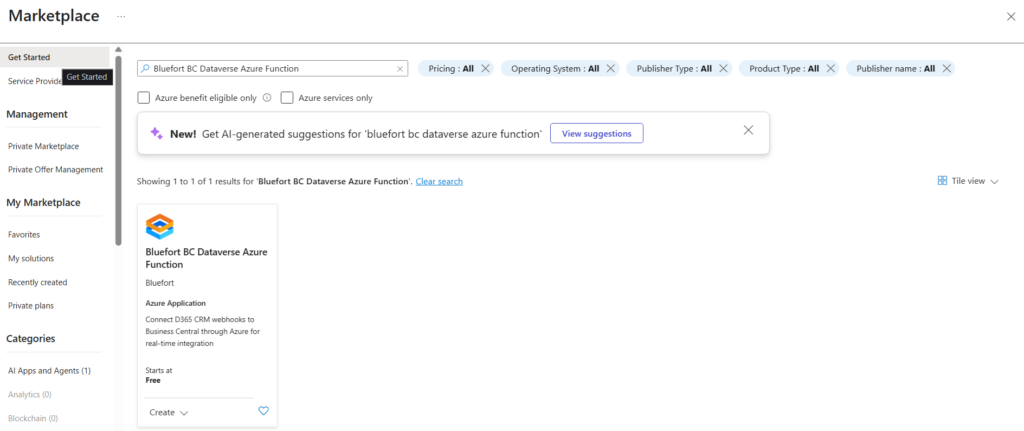
Step 1: Navigate to the Azure Marketplace
- Log in to your Azure Portal.
- In the left-hand menu, select Marketplace.
- In the search bar, type Bluefort BC Dataverse Azure Function and press Enter.
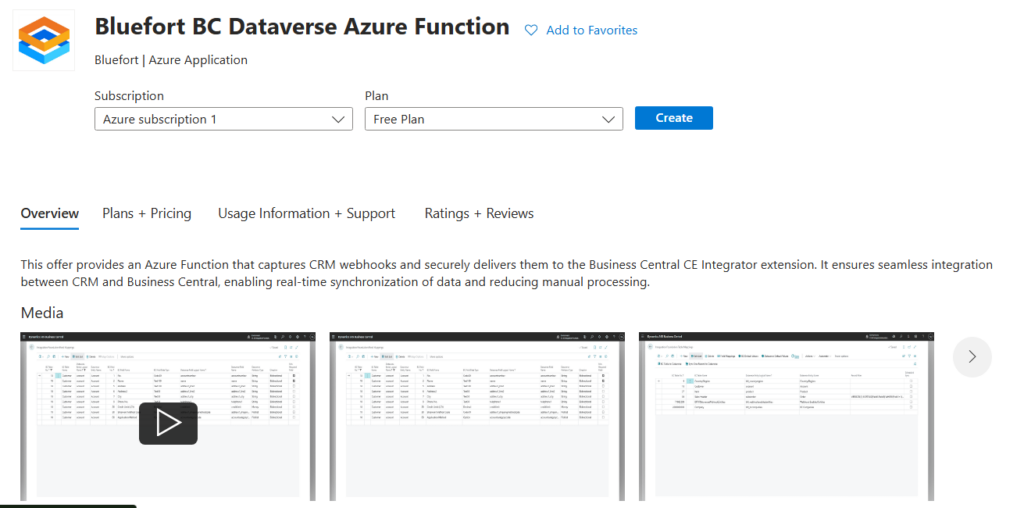
Step 2: Select the Application
- Click on the Bluefort BC Dataverse Azure Function listing.
- Select a Subscription and a Plan (Free plan) and click Create.
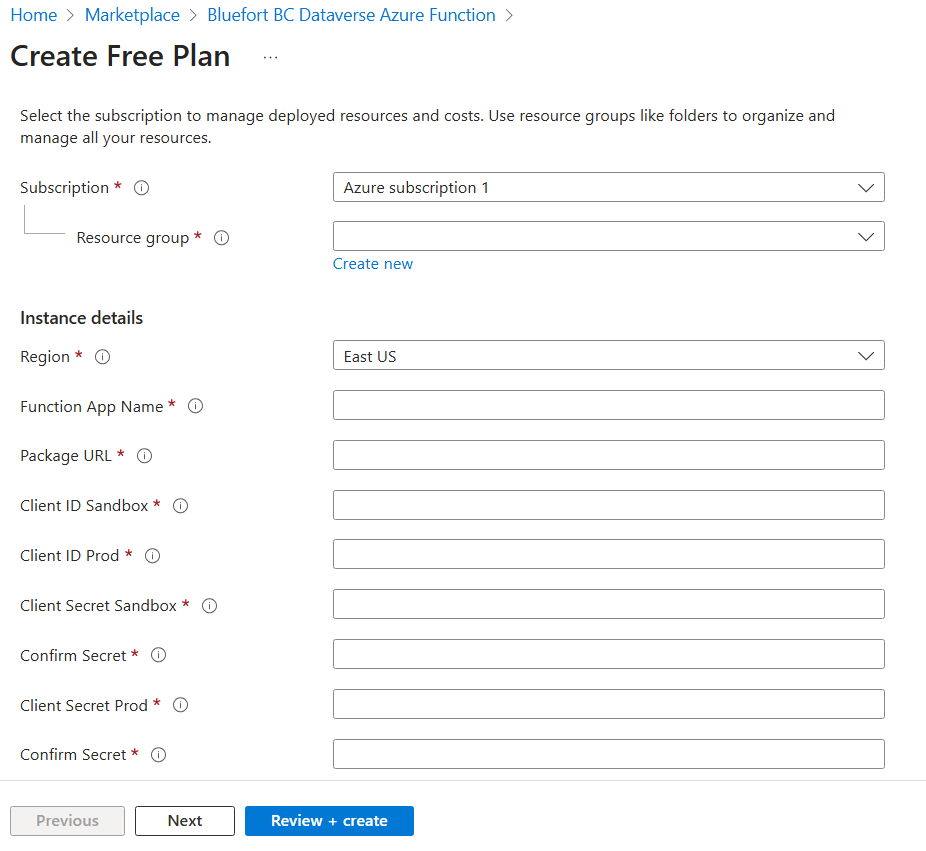
Step 3: Configure Parameters
You’ll need to provide some key configuration values. These allow the Azure Function to integrate with your CRM environment and Business Central instance.
Here are the parameters you need to fill out:
functionAppName: Your preferred name for the Azure Function app (Must be less than 15 characters)packageUrl: The package URI provided by BluefortclientIdSandbox&clientIdProd: Your app registration client IDs for sandbox and productionclientSecretSandbox&clientSecretProd: Your app registration secrets for sandbox and productionbcTenantId: Your Business Central tenant IDbcEnvironmentSandbox&bcEnvironmentProd: The BC environments for sandbox and production- CRM Application User Id Prod & CRM Application User Id Sandbox: The CRM Application User Ids for the Entra app registration setup in the pre-requisites
- CRM Environment URLs for both sandbox and production.
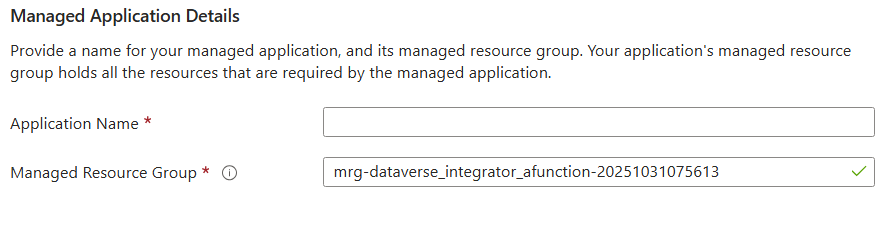
Step 4: Configure Managed Resource Group
- Give your Managed Resource Group a meaningful name, e.g.,
rg-crmbc-connector. - Click Create. Azure will start deploying the resources. Deployment may take a few minutes.
Step 5: Accessing Your Azure Function
Once the deployment is complete:
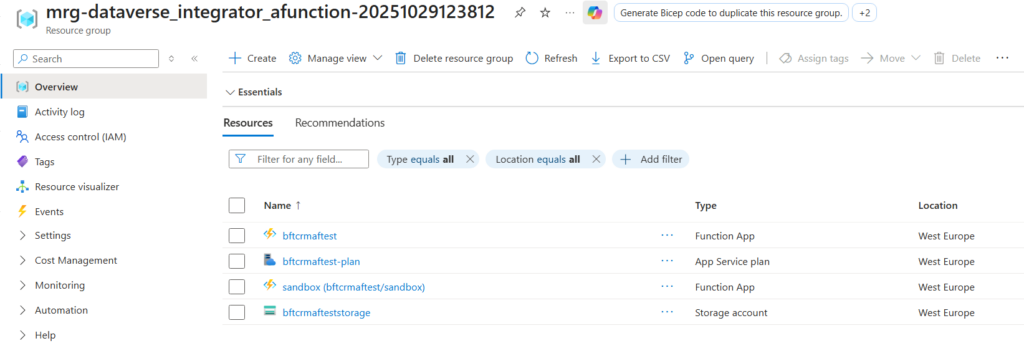
- Go to Resource Groups in Azure Portal.
- Select your resource group (
rg-crmbc-connector - Click the Function App inside the group.
- You will see two deployment slots under Deployment Slots:
- Production – the Function App Name
- Sandbox – the Function App Name/Sandbox
Step 6: Fetch Azure Function URLs
- In the Function App overview, click Functions on the left menu.
- You should see one functions named:
- CRMBCIntegrationFoundationFunction
- Click Get Function URL at the top right.
- Copy the URL. Important to select the default (Host Key)

Note that the above URLs are to be used in the setup wizard in the CRM BC connector extension in Business Central
✅ Summary
Deploying the CRM BC Azure Function involves:
- Searching and selecting the app in the Azure Marketplace.
- Deploying the Azure Function for the CRM BC connector.
- Configuring essential parameters.
- Naming the managed resource group and creating the deployment.
- Accessing your Function App to retrieve the function URLs for integration.
By following these steps, you’ll have a fully deployed, ready-to-use Azure Function connected to the CRM BC connector and Business Central.