
Onboard your Dataverse (CRM) environment to GoCardless
If you deployed Bluefort TAPP ERP than the merchant onboarding happens from the Microsoft Dynamics 365 Finance and Operations / FinOps / FSCM side. For more detailed steps of how this is done please find the Merchant Onboarding section of this article.
If you deployed Bluefort TAPP (i.e. the stand-alone version without ERP integration) then follow the steps below.
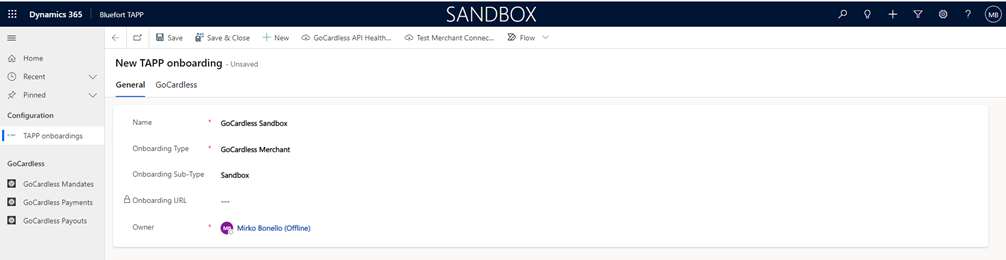
The first step is to open the Bluefort TAPP model driven app by clicking on the Bluefort TAPP logo in the apps menu. Then click on TAPP onboardings and click on the New button to create a new onboarding record.

In the form’s General Tab:
- enter a Name for the onboarding record
- Set Onboarding Type to GoCardless Merchant
- Set Onboarding Sub-Type to Sandbox or Live (depending on what GoCardless API endpoint type you want to connect to)
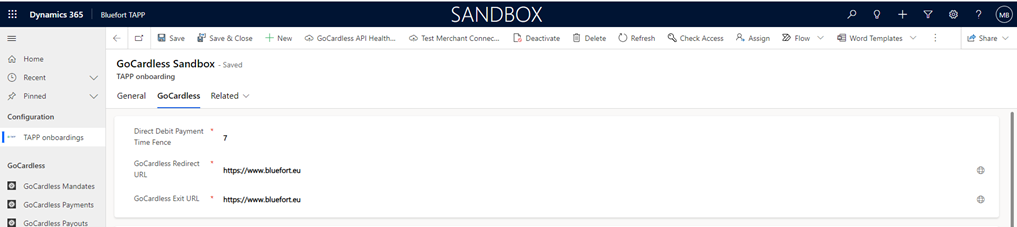
Do not click Save yet but go to the GoCardless Tab and provide a value for:
- Direct Debit Payment Time Fence – this is the default number of days a direct debit payment is charged after the invoice is created. This will be inherited to the account and contact entity when GoCardless is enabled for the said record however the user can choose to override this auto-inherited value on the account or contact record itself. The value will be used to calculated the direct debit date on the invoice report i.e. system date + number of days specified by the time fence field on the account or contact record the invoice is linked to.
- GoCardless Redirect URL – this is the web page your customers will be re-directed to once they complete a billing request flow / mandate onboarding.
- GoCardless Exit URL – this is the web page your customers will be re-directed to once if the billing request flow / mandate onboarding flow exists unexpectedly, expires etc.
You may now proceed to save the record.
Once the record is saved, back on the General Tab, the Onboarding URL is generated. The onboarding URL is used to onboard the CRM organisation (i.e. the legal entity using CRM) as a GoCardless merchant (sometimes also referred to as Creditor). Thus this URL should be sent over to the merchant admin if the CRM SysAdmin is not the Merchant Admin. In a production/live scenario, the merchant admin should be a legal representative of the legal entity who has the authority to sign up the legal entity as a GoCardless merchant.
Note: It is VERY IMPORTANT that the legal representative has an enabled user in the Dynamics 365 / Dataverse environment and is assigned a role that provides admin access to the app during onboarding. If the user no longer requires access to Dynamics 365 / Dataverse the role and user assignment can be revoked after the merchant onboarding process is complete.
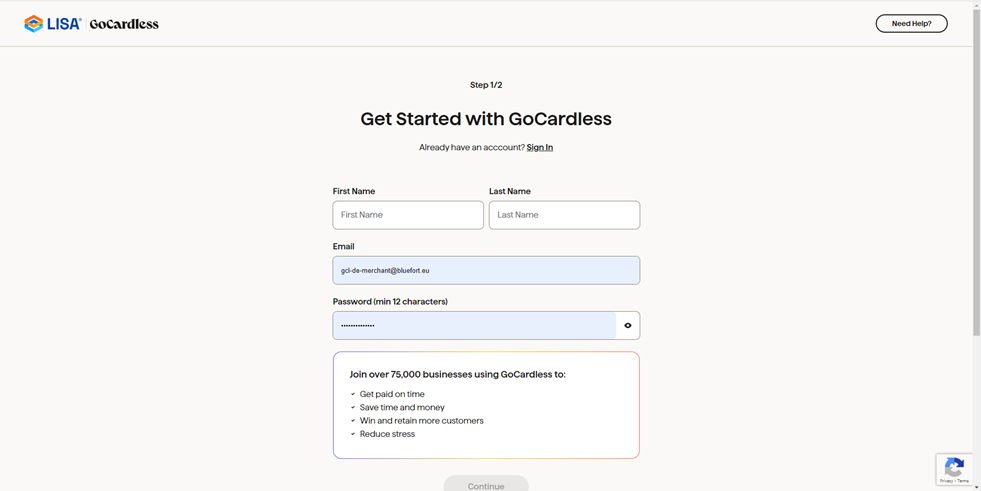
Once the legal representative of the legal entity receives the Onboarding URL and clicks it, the GoCardless hosted page is presented. This wizard will guide the user through the merchant onboarding process for the legal entity. The first step in this wizard is to create an account with GoCardless or sign-in if the legal entity was already signed up to GoCardless in the past.
At the end of the wizard the user will be re-directed to a page on the bluefort website and here it is important to click on the button indicated in order to send the token and organisation information to the Dynamics 365 Sales / dataverse.
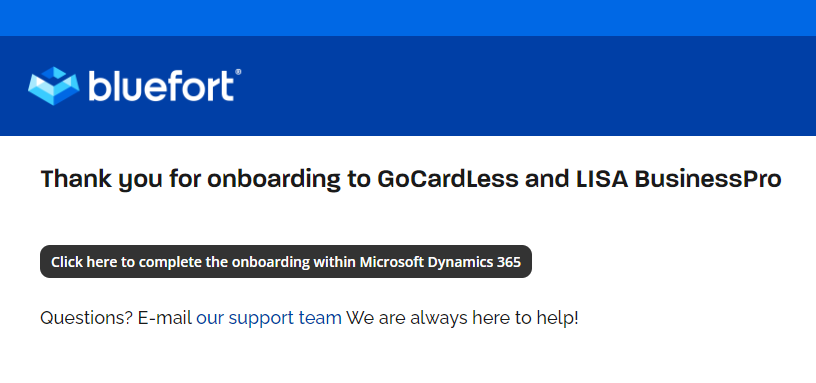
Clicking this button would redirect the user back to a page where the user should receive confirmation pop-up that the Merchant onboarding is successful. Please ensure that the page or browser session is only closed after this pop-up is displayed.
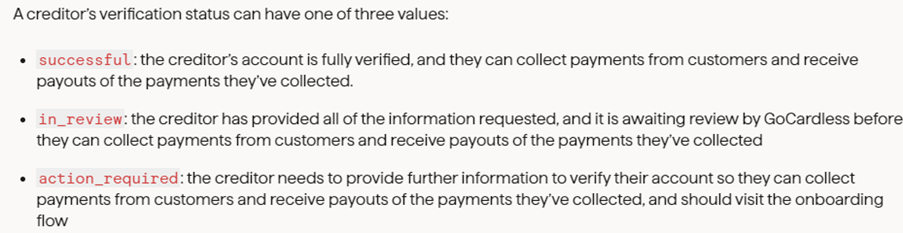
After the legal representative receives the success message the onboarding can be verified by ensuring that the Verification status has the value Successful. In a Sandbox environment the Verification status goes straight to Successful but in a live/production environment the initial status will typically be In Review until the merchant application status is reviewed by GoCardless. If the Verification status is set to Action Required then it means that GoCardless require further information before your legal entity can be successfully onboarded as a merchant.
For Bluefort TAPP ERP, the steps below are done from the Microsoft Dynamics 365 Finance and Operations / FinOps / FSCM user interface not from CRM.
Getting the latest Verification Status
The latest Verification Status can be obtained by clicking on the Test Merchant Connection button in the ribbon of the TAPP Onboarding form. The results are displayed in the GoCardless Merchant Connection section.
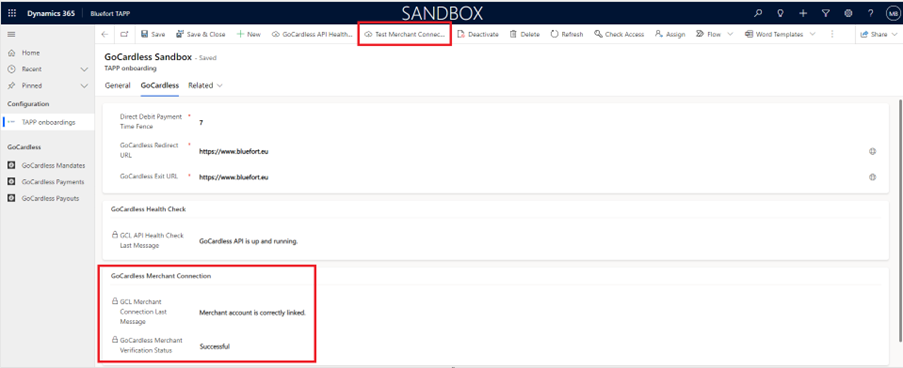
Once Merchant is correctly linked message is display and the Verification status field has the value Successful, this means that you have successfully completed deployment and configuration of Bluefort TAPP for Microsoft Dynamics 365 Sales and GoCardless!
GoCardless API Health Check
You can test connectivity to the GoCardless API by clicking the GoCardless API Health Check button on the ribbon of the TAPP Onboarding form. The results are displayed in the GoCardless Health Check section.
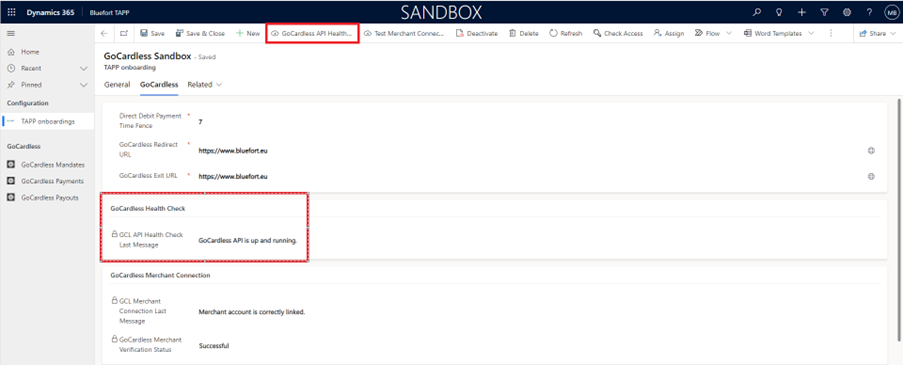
A successful health check results in the message: GoCardless API is up and running.
Multiple GoCardless Merchants [optional]
TAPP support creating multiple GoCardless merchants within one CRM organisation. This is because some customers have multiple GoCardless accounts which they might use for different legal entities, business units, teams or business lines.
In most scenarios, having one GoCardless merchants should suffice but if you require and have configured multiple onboarding records of type GoCardless merchant that you might also want to configure the GoCardless merchant onboarding record which is most commonly used to be defaulted for your users.
TAPP Setups [optional]
This section is not applicable to Bluefort TAPP CRM ERP.
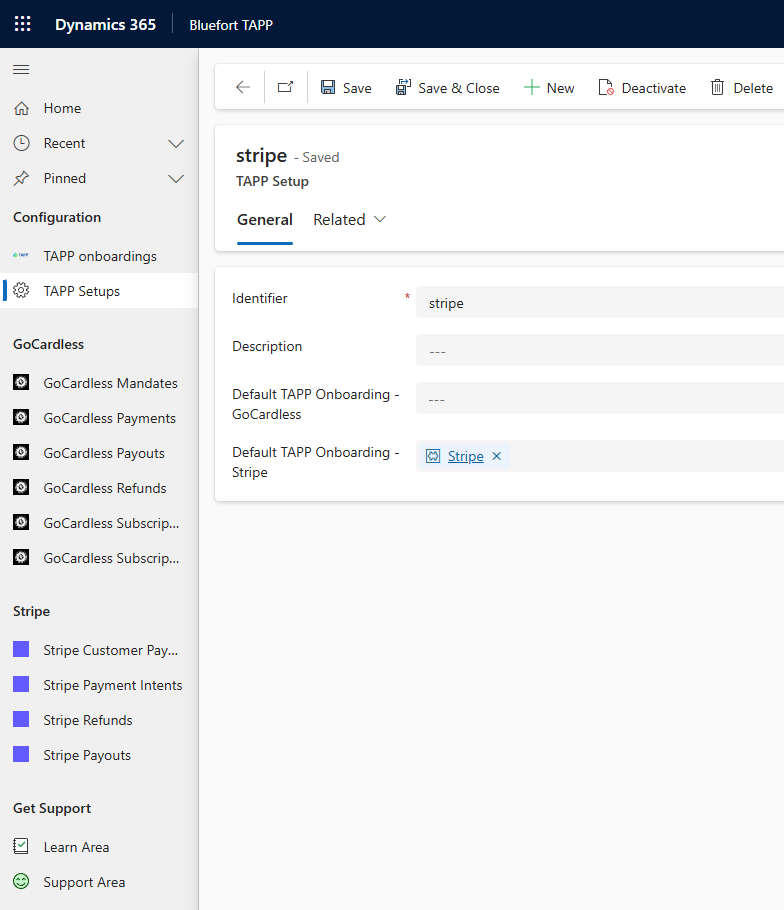
In some scenarios, such as when setting up a GoCardless mandate for a customer or when generating a GoCardless Instant Bank Payment URL for a one-off payment, you would like CRM to auto-default the GoCardless merchant onboarding method to use, instead of having the user manually having to select it on every customer (for mandate URLs) or every invoice (for one-off Instant Bank Pay URLs). If this is the case, then you would need to create a record in TAPP setups. The record should have the following field values:
- Identifier – GoCardless
- Description – Any value [optional]
- Default TAPP Onboarding GoCardless – This is a lookup field where you should select the specific Stripe Onboarding record you’d like to be defaulted for users.
- Default TAPP Onboarding Stripe – This should be left empty for GoCardless.
After entering the data above simply save the record.
Congratulations!
You have finished linking your Microsoft Dataverse / Microsoft Dynamics 365 Sales environment to GoCardless by onboarding one or more GoCardless merchants. If you’ve encountered any issues, have questions or need help or support please reach out to the Bluefort support team on support@bluefort.io
The next step would be onboarding customers to your merchant so they can settle their invoices using Direct Debit.