
Introduction
Purpose
To be able to import product master (including variants) and released product images in bulk thus saving the customer a significant amount of time and money.
New Releases
| Date | Version No. | FinOps Vr. | New Features/Fixes |
| 01/09/2022 | 10.0.0.8 | 10.0.24+ | Added Azure Storage field help which was missing from the document. |
| 30/03/2022 | 10.0.0.8 | 10.0.24 PU48 | Added Batch Job functionality to download unprocessed files from SharePoint, process them and uploading them back to SharePoint to an Archive folder. The succeeded files are upload to an archive folder on SharePoint. The failed files are logged and deleted. |
| 15/05/2020 | 10.0.0.7 | 10.0.9 PU33 | Process replaces characters in file name and allows multiple files to be imported for the same product at once. |
| 17/04/2020 | 10.0.0.6 | 10.0.9 PU33 | Process searches for items also using an external vendor id. |
| 18/10/2019 | 10.0.0.5 | Connecting to Azure Blob Storage. Automatically synchronising POS images. | |
| 20/09/2019 | 10.0.0.4 | Log sorting by newest first (on top). Fix for product not found issue log. Fix for released products without product master. Fix for multi-image upload. | |
| 11/09/2019 | 10.0.0.3 | Licensing implementation. Default image feature. Replace functionality. | |
| 17/05/2019 | 10.0.0.2 | Minor improvements on error logging | |
| 06/02/2019 | 10.0.0.1 | D365 v10 (OneVersion) upgrade | |
| 16/10/2018 | 80.15.0.1 | Initial version on D365 FinOps v8.0 PU15 |
New Menus and Menu Items
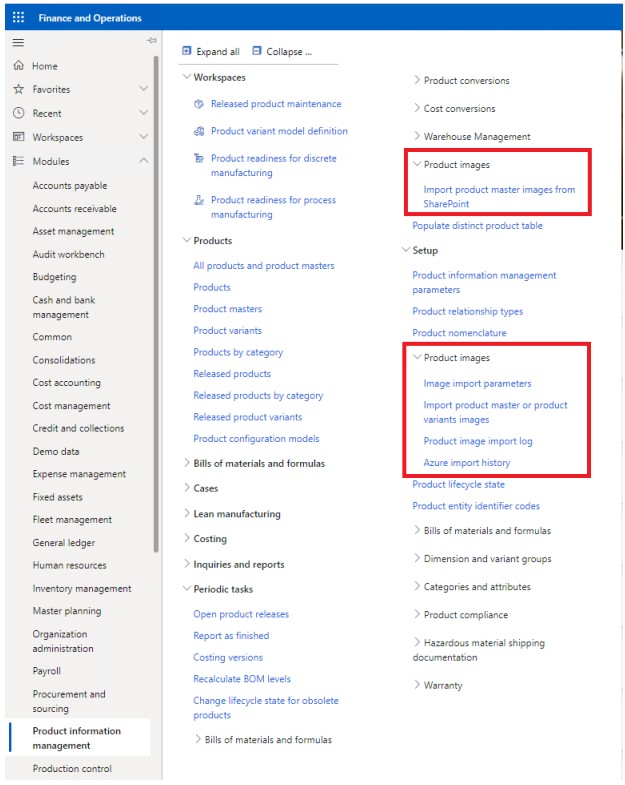
‘Product images’ Menu
In Product information management -> Setup added a new menu named ‘Product images’ within three new Menu Items:
- ‘Image import parameters’
- ‘Import product master or product variants images’ ‘Product image import log’
- ‘Azure import history’
‘Periodic tasks’ Menu
In Product information management -> Periodic tasks added a new menu named ‘Product images’ within one new Menu Item:
- ‘Import product master images from SharePoint’
New Forms
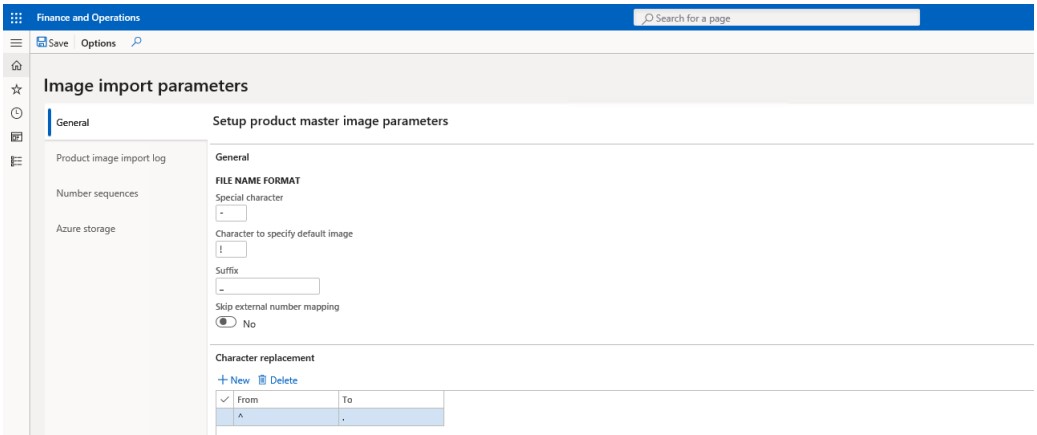
‘Image import parameters’ Form
To the general tab there is a field that holds a special character that the user would choose for the filename format of the product variants, for example if the filename format is ‘1001 – – Large – Black – .jpg’ then the character chosen should be ‘–‘. If the file format the user wants to use is 1001 ^ ^ Large ^ Black ^ .jpg then the character chosen should be ‘^’.
This form also includes a field with which the user can specify a default image. For example, if the user is entering multiple images for the product ‘ 0140 : : Large : Black : ’ and the character chosen for the image name is ‘ – ‘ whilst the character specified for the default image is ‘ ! ‘ then, the image name would need to be ‘ 0140 – – Large – Black – – !.jpg ’.
The ‘Skip external number mapping’ parameter decides if items are searched also using an External item number. To skip this process, this parameter needs to be on.
The suffix parameter is used to identify the end of the product number. Throughout the process any characters behind this character will be ignored since this is used to import multiple images of the same product at once.
Inside the ‘Character Replacement’ tab a grid can be found where the user will specify characters that need to be replaced before the import process starts. These values can be left empty if not needed.
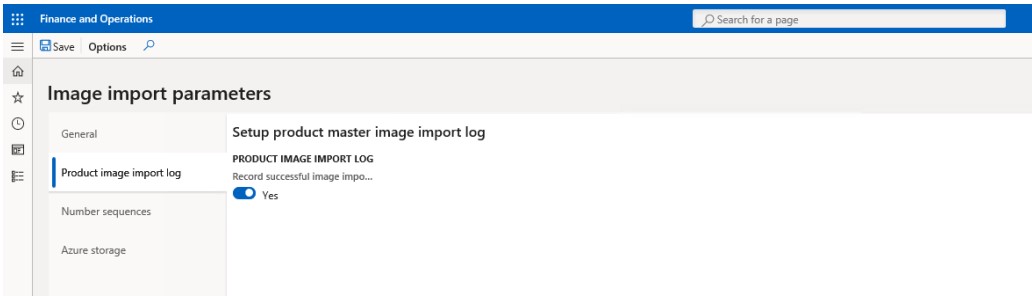
In the ‘Product image import log’ tab there is a tick-box as shown in the screenshot below to allow the user to choose whether successful import image file records will be displayed in the ‘Product image import log’ form.
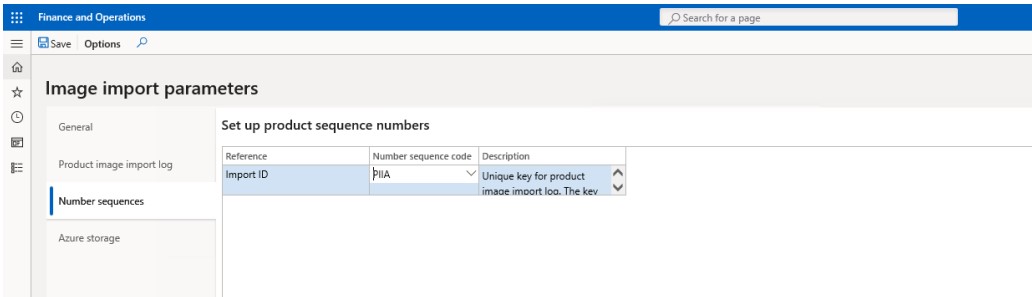
In the ‘Number sequences‘ tab, as shown in the screenshot below, there is a number sequence code field to set for the Import Id sequence.
In the ‘Azure storage’ tab, the user can input the details of the Azure storage account and Azure Blob Storage container that the images will be stored in.
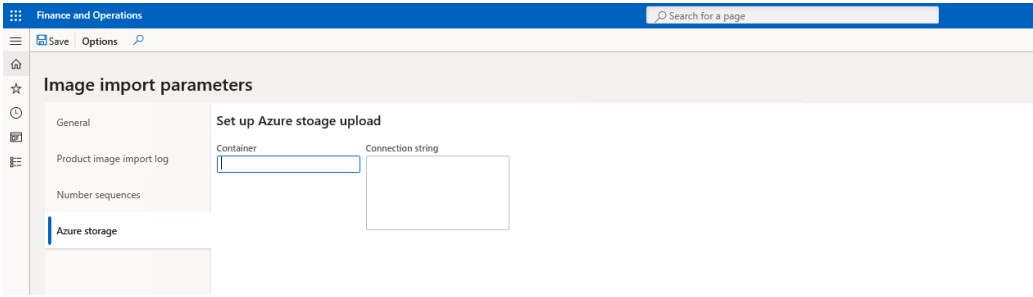
Container – the name of the Blob Storage Container (not of the Azure storage account).
Connection string – the connection string to the storage account. Please click here for standard Microsoft documentation on how to build the connection string. You can use either Key 1 or Key 2 from the Access Keys blade on the Azure Storage account as the AccountKey parameter of the connection string.
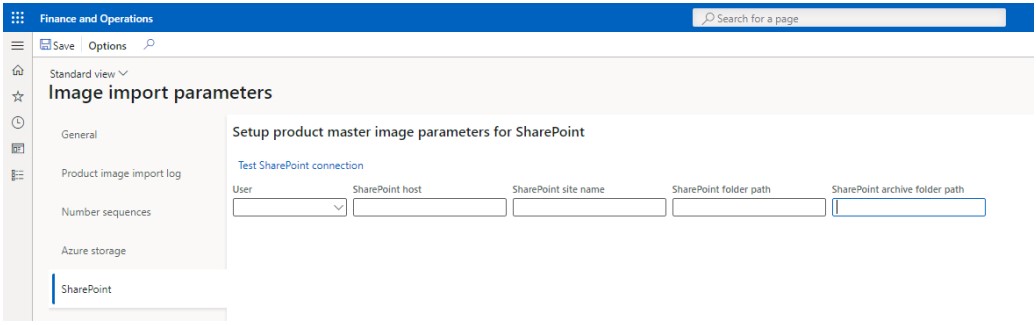
In the ‘SharePoint’ tab, the user can choose to input details for integrating PIIA with SharePoint.
The SharePoint User parameter is the user that has permissions to upload to SharePoint.
The SharePoint host parameter is the SharePoint URL.
The SharePoint Site Name parameter is the name of the SharePoint site.
The SharePoint Folder Path parameter is the path of the folder containing the unprocessed files.
The SharePoint Archive Folder Path parameter is the path to save the succeeded processed files.
An example of this configuration would be:
- The SharePoint Host: e.g., https://XXXXXX.sharepoint.com
- The SharePoint Site name: e.g., sites/dummy
- The SharePoint Folder Path: e.g., Shared%20Documents/Folder
- The SharePoint Archive Folder Path: Shared%20Documents/Folder
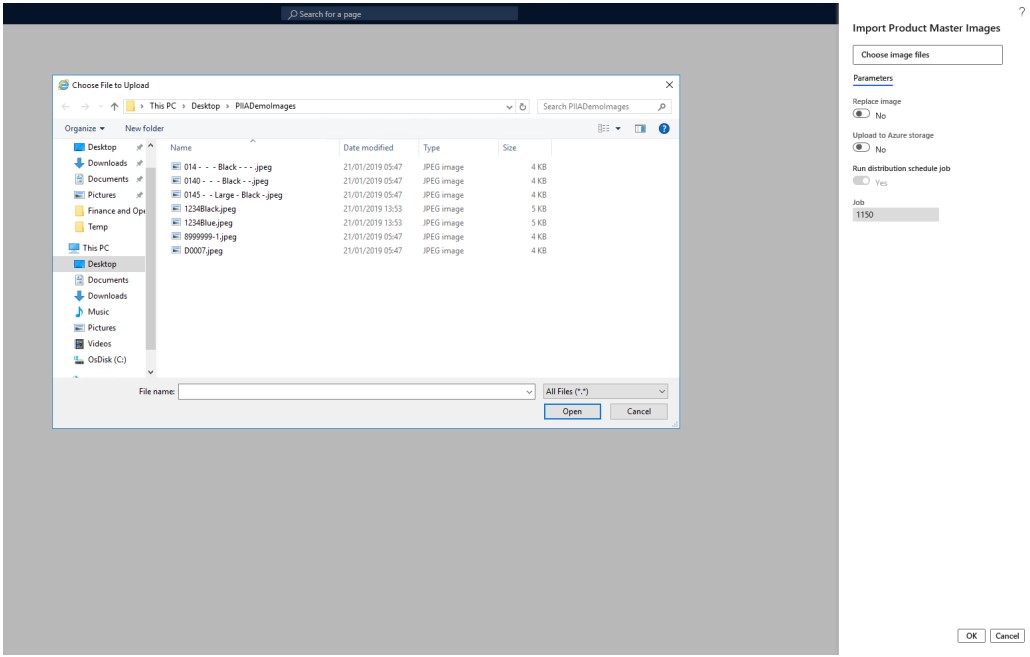
‘Import product master or product variants images’ dialog
When ‘Choose images files’ button is clicked, this would open a file browser window. Here the user can choose the path to the image files for product image upload.
The user can also choose to replace the current image that is being used. In the case that an image with the same name is found, the image will be replaced with the new one.
If a product variant attribute is left empty, this will be ignored and all product variants matching the parameters are updated with the image.
When the ‘Skip external number mapping’ parameter is turned off, the process will also try to match an external item number to the item number specified.
The user can also choose to upload the images to an Azure storage container. When this is selected, a choice is given to the user to automatically run a synchronisation job (be it default or custom) so that the newly updated images will be available on the POS.
When the user clicks Ok, the file path is saved.
When the ‘OK’ button is clicked, this will call the product image import. This script attaches the image from the file path specified to product masters that exist in Finance and Operations.
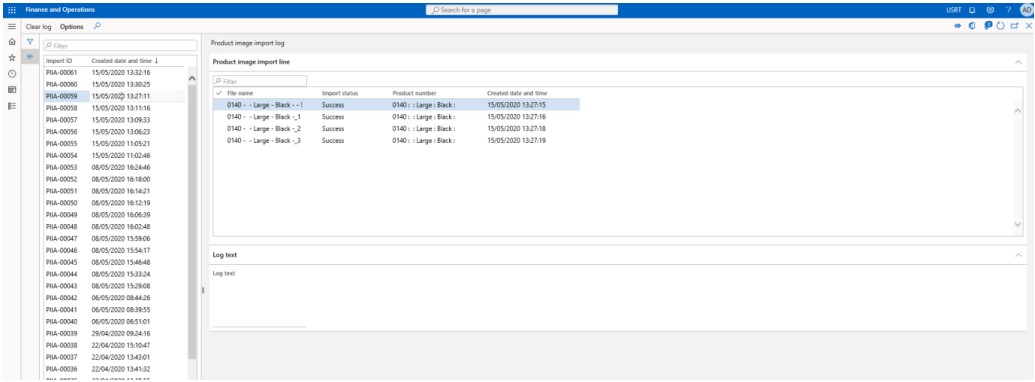
‘Product image import log’ Form
‘Product image import log’ form as shown in the screenshots below contains the successful and/or failed image imports, depending on the parameters chosen in the ‘Image import parameters’ form, ‘Product image import log’ tab. This form shows the import ID and Execution start time on the left, while showing the file name, status, product number and time on the right.
‘Azure import history’ Form
The ‘Azure import history’ form as shown below contains a record of all images uploaded to Azure Blob Storage.

When the user presses the ‘AZURE’ button that can be found on the action pane, two new buttons will appear.
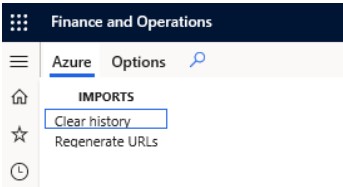
The ‘Clear History’ button will remove all the data that is visible in the form, whilst the ‘Regenerate URLs’ button will re-set the image URLs to the ones that can be found in this form.
‘Import product master images from SharePoint’ dialog
The ‘import product master images from SharePoint’ form as shown in the screenshot below:
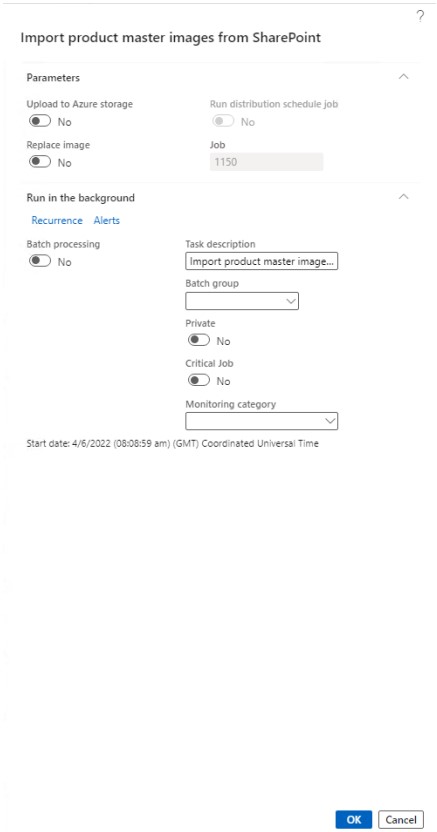
The process of this form is the same as the ‘Import product master or product variants images’ dialog but instead of selecting the images to import, it will download the available images from the SharePoint folder containing the unprocessed files.
When download is completed, the files will be processed and uploaded to a specified SharePoint archive folder.
When the upload is completed, the successful files are deleted from the folder containing the unprocessed files. If a file was imported unsuccessful it remains in the folder containing unprocessed files.