
Onboard your Dataverse (CRM) environment to Stripe
The first step is to open the Bluefort TAPP model driven app by clicking on the Bluefort TAPP logo in the apps menu. Then click on TAPP onboardings and click on the New button to create a new onboarding record.

In the form’s General Tab:
- Enter a Name for the onboarding record
- Set Onboarding Type to Stripe Connect
- Set Onboarding Sub-Type to Sandbox or Live (depending on what Stripe API endpoint type you want to connect to)
- Enter the 2 letter country value of the country the CRM organisation is operating within in the Stripe ISO Alpha-2 Country field. These can be found here, in the Alpha-2 code column.
Do not click Save yet but go to the Stripe Tab and provide a value for:
- Stripe Success URL – this is the web page your customers will be re-directed to if a payment method / payment flow is successful. This should be a page hosted on your web-site with your own branding and theming where you thank the customer for their business and confirm that payment has been processed.
- Stripe Cancel URL – this is the web page your customers will be re-directed to if a payment method / payment flow fails or encounters an error. This should be a page hosted on your web-site with your own branding and theming where the customer is encouraged to retry the operation.
You may now proceed to save the record.
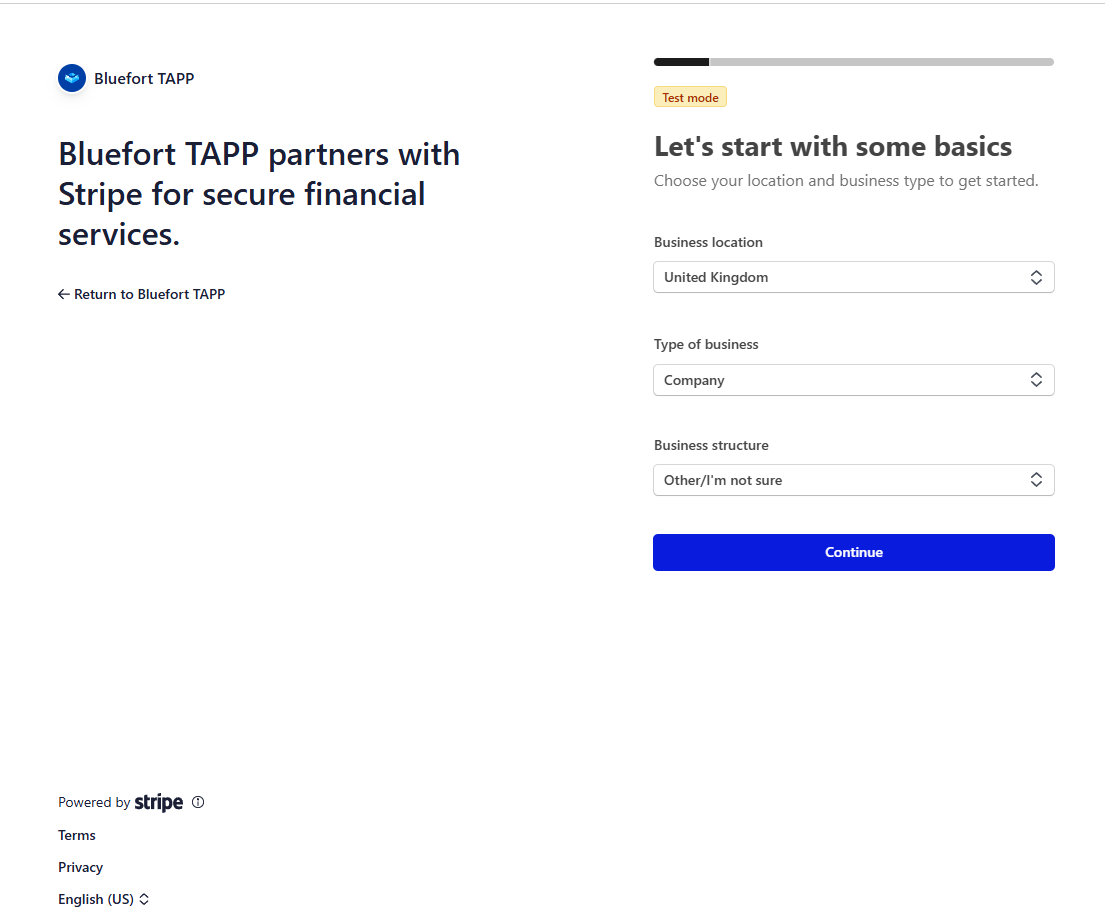
Once the record is saved, back on the General Tab, the Onboarding URL is generated. The onboarding URL is used to onboard the CRM organisation (i.e. the legal entity using CRM) to Stripe.
In a sandbox/test scenario, you can fast-track through the Stripe wizard and insert dummy/test data – dummy values are often suggested within various input text boxes within the wizard.
In a production/live scenario, the information required by the Stripe wizard exposed by this URL should be submitted by a legal representative of the legal entity who has the legal authority to act on behalf of the legal entity. This is typically a business owner, a director or a member of the governing board but might differ by region and legal setup of the organisation.
Note: This wizard also give you the opportunity to tailor the experience of your customers by configuring aspects such as business name and statement descriptors to be shown on your customers’ bank statements, customer support phone numbers, contribution to the Stripe Climate commitment etc
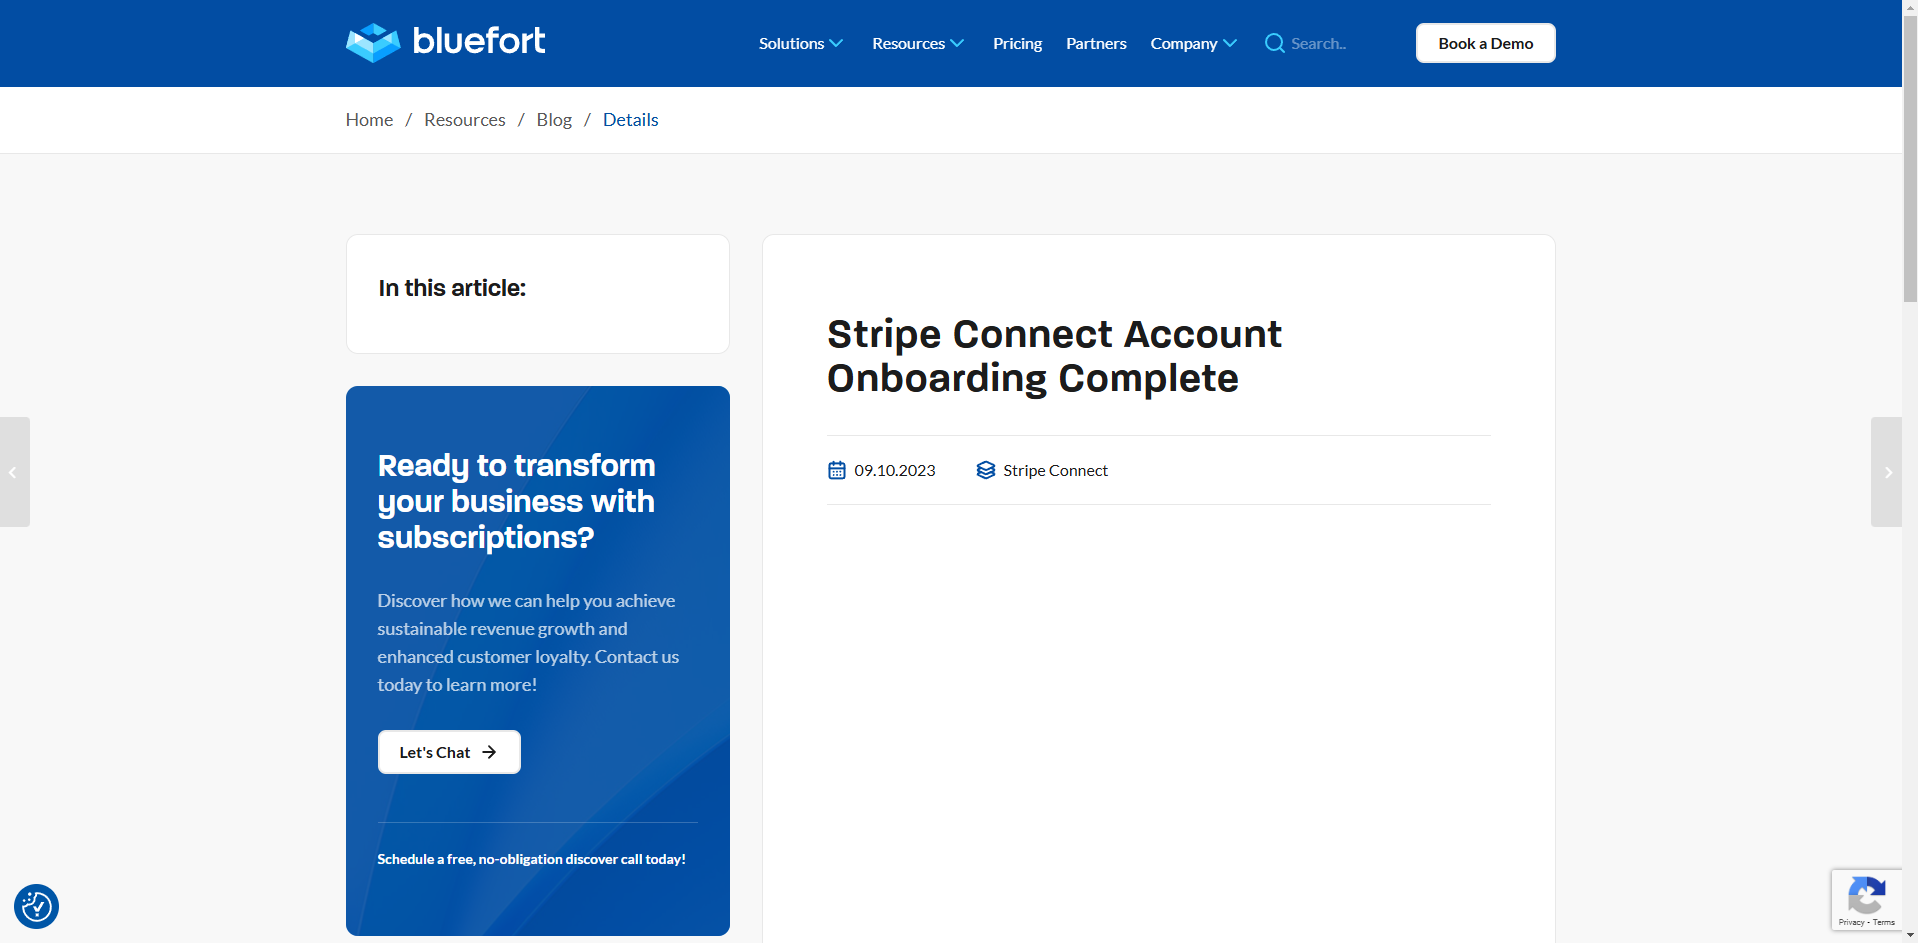
When the onboarding to Stripe is successful, the person going through the wizard should see the Bluefort success screen below.
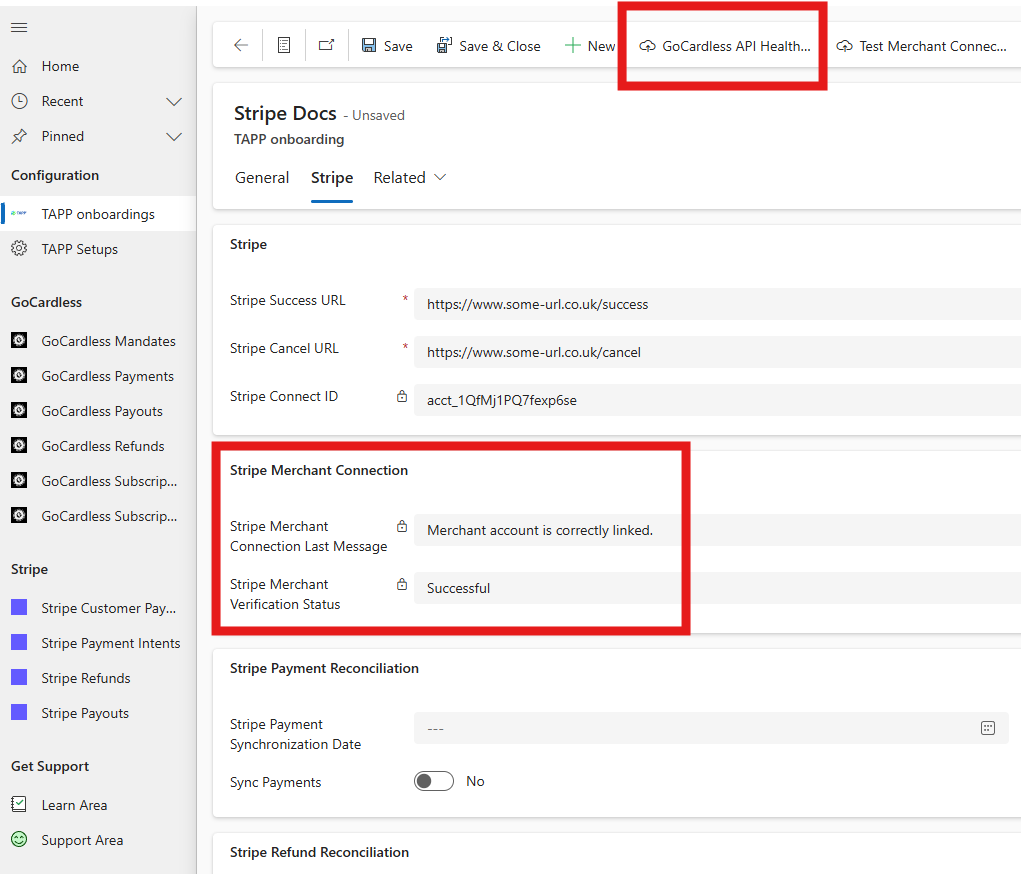
After the legal representative receives the success message the onboarding can be verified by clicking on the Test Merchant Connection button in the ribbon. A successful result should be shown in the fields within the Stripe Merchant Connection section.
If the message shown is not a success message (as shown in the screenshot below) then it means that the Stripe onboarding Wizard was not correctly completed end-to-end and thus the Stripe service is not able to correctly onboard this merchant for payment processing.
Multiple Stripe Accounts [optional]
TAPP support creating multiple Stripe merchants within one CRM organisation. This is because some customers have multiple Stripe accounts which they might use for different legal entities, business units, teams or business lines.
In most scenarios, having one Stripe account should suffice but if you require and have configured multiple onboarding records of type Stripe Connect that you might also want to configure the Stripe Connect onboarding record which is most commonly used to be defaulted for your users.
TAPP Setups [optional]
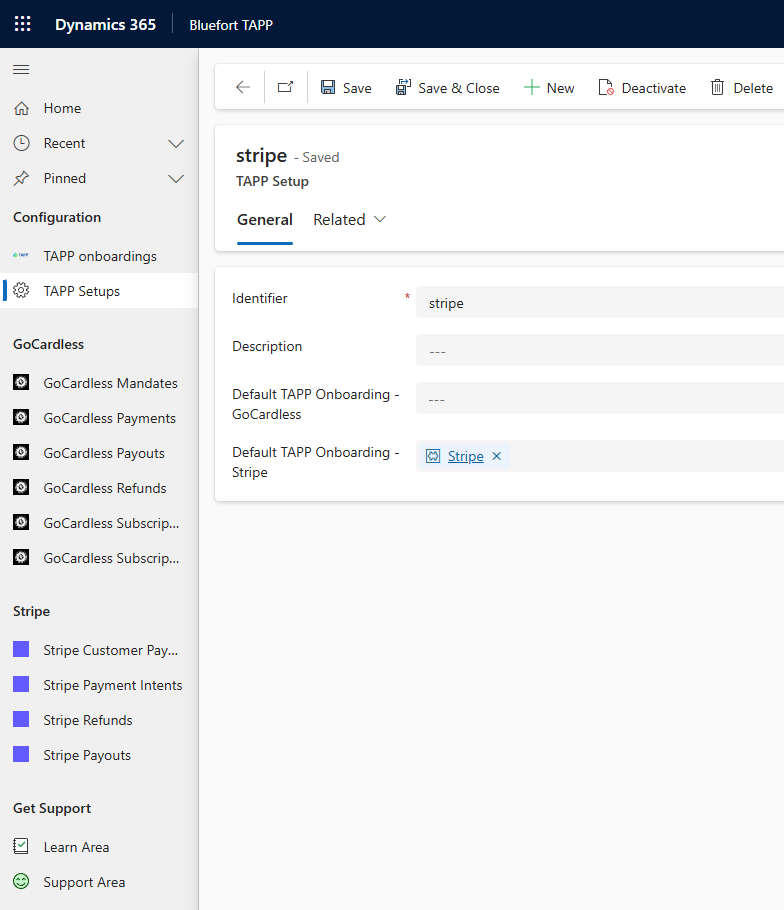
In some scenarios, such as when generating a Stripe Payment Method URL for a customer or when generating a stripe URL for a one-off payment, you would like CRM to auto-default the Stripe Connect onboarding method to use, instead of having the user manually having to select it on every customer (for payment method URLs) or every invoice (for one-off payment URLs). If this is the case, then you would need to create a record in TAPP setups. The record should have the following field values:
- Identifier – Stripe
- Description – Any value [optional]
- Default TAPP Onboarding GoCardless – This should be left empty for Stripe
- Default TAPP Onboarding Stripe – This is a lookup field where you should select the specific Stripe Onboarding record you’d like to be defaulted for users.
After entering the data above simply save the record.
Congratulations!
You have finished linking Bluefort TAPP for Stripe and Microsoft Dynamics 365 Sales. If you’ve encountered any issues, have questions or need help or support please reach out to the Bluefort support team on support@bluefort.io
Click Here to see a demo of configuration and day-to-day use of Bluefort TAPP for Microsoft Dynamics 365 Sales.